Configure: Overview
This article will provide a general overview of the Configure view within your Firm settings.
Note: The categories in each section are used to match your information in the application. The Categories can not be altered or removed , as they hold the place where your created Note Type, Industry, Status, etc. is held.
Table of Contents
- Company Statuses
- Deal Statuses
- Fee Structures
- Industries
- Investors
- Note Template
- Note Type
- Project Types
- Seniorities
- Specialties
- Statuses
Company Statuses
You are provided with 3 Default values. You can add a Company Status that suits your needs.
You may also click the menu button to choose your default company status .

Deal Statuses
You can add a Deal Status that suits your firms needs. You may also click the menu button to edit or delete a status type.
*Please note that you can not edit or delete Closed or Target.

Add New Deal Status


Reorder Deal Statuses. You can reorder Deal Statuses to display in your preferred sequence by following these instructions.
- Select “Deal Statuses” from the drop-down menu. Click and hold the three bar icon to drag and drop Deal Statuses into your preferred position.

Fee Structures
The Fee Structure is apart of the Add-On feature, Finance Module and is a complete customizable Configure option. The Fee Structures will reflect in the Contract view inside of your project. Support article here will dive deeper into the feature.
Recommended Fee Types as a good starting point: Conversion, Execution, and Origination.

Industries
There is an extensive list of industry types out of the box and included under the Configure view per each Industry type (Banking & Finance, Consumer Internet, Education, Energy & Utilities, etc).

Add Industry

Once added you can then select the Industry when creating a new Project from the Project Panel.

You may also click the menu button to edit or delete a Industries type.


Investors
Add investors for your firm within this section. You may also click the menu button to edit or delete a Investors type.
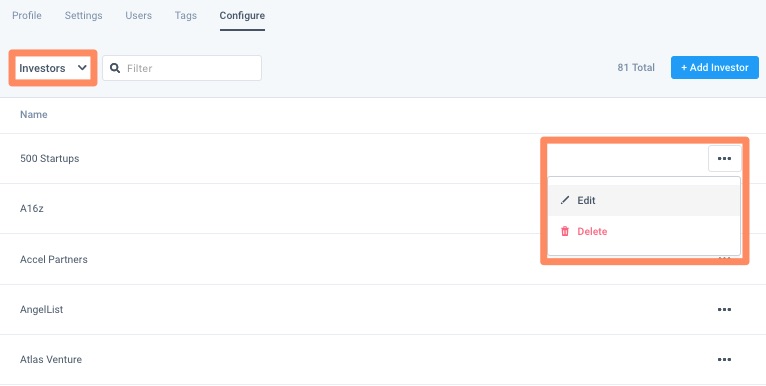
Add Investors

Once added you can then select the Investor when creating a new Project from the Project Panel.

Note Template
Create note templates for your Firm. You may also click the menu button to edit or delete a Note Templates type.
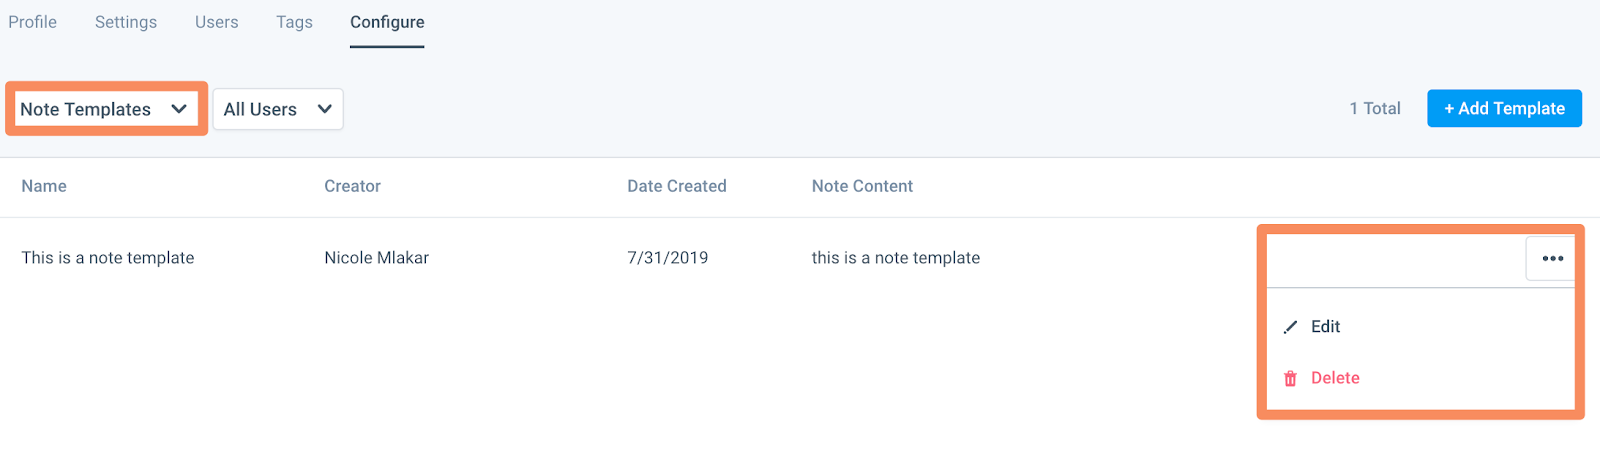
Add Note Templates

Once added you can then select the Note Template type when adding a new note in the Person Panel. The Note Template order in Configure will reflect the same order of the Note Template dropdown in the Person Panel.

*Additional detail on Note Templates can be found here.
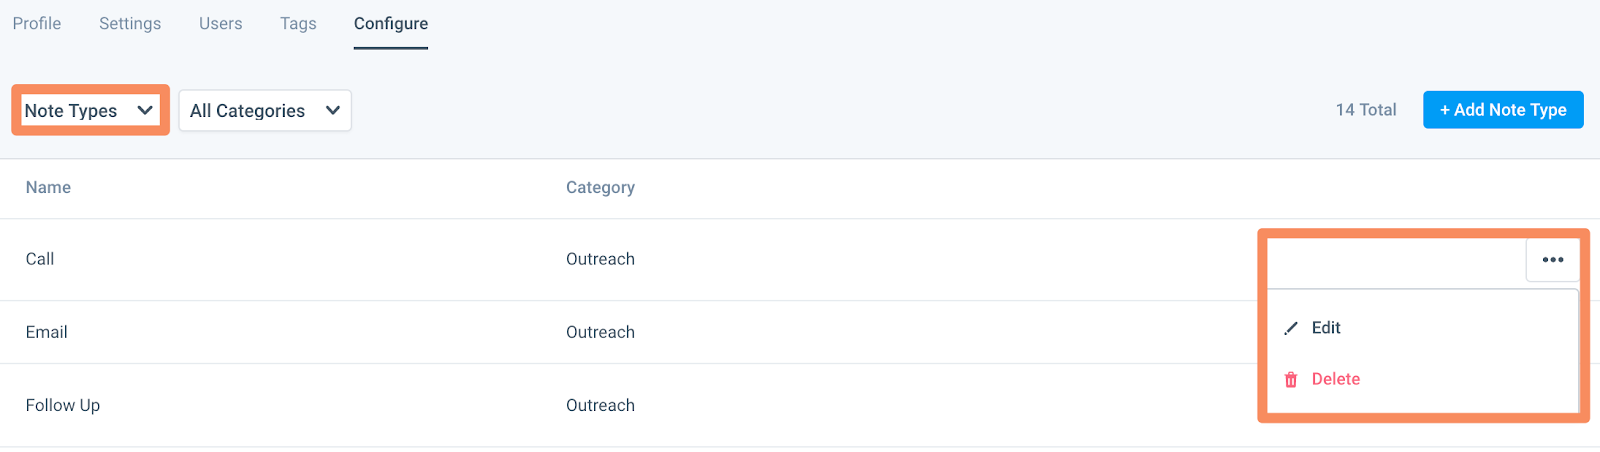
Note Types
Note types can be created within your Firm. They are linked to set Categories (Outreach, Info, Others, All Categories). The Note Type order in Configure will reflect the same order of the Note Type dropdown in the Person Panel.

Note Type

You can reorder Note Types to display in your preferred sequence by clicking and holding the three bar icon to drag and drop Note Types to your desired order.

Once added you can then select the Notes type when adding a new note in the Person Panel.

You may also click the menu button to edit or delete Notes Type.
Seniorities
There are several seniority levels included in your Configure settings. You can add/edit seniorities here.

Add Seniorities
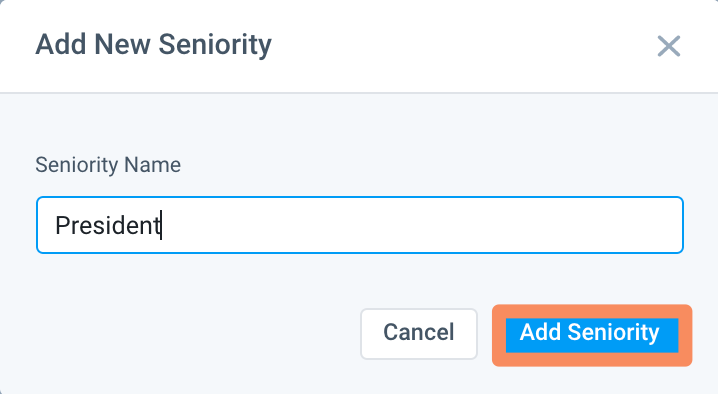
Once added you can then select the Seniorities type when creating a new Project from the Project Panel

You may also click the menu button to edit or delete a Seniorities type.

Specialties
There are several specialties included in your Configure settings. You can add/edit specialties here.

Add Specialties

Once added you can then select the Specialties type when creating a new Project from the Project Panel.

You may also click the menu button to edit or delete a Specialties type.

Statuses
There are several Candidate statuses in your Configure settings. They are linked to set Categories that further define each status (In-Placed, In-Offered, In-Contenders, etc)
Note: The candidate status at the bottom of the Research category is the default candidate status.

Add Statuses

Once added you can then select the Statuses type within Candidate in Projects on the Person Panel.

You may also click the menu button to edit or delete a Statuses type.

Reorder Statuses
You can reorder Candidate Statuses to display in your preferred sequence by following these instructions.
- Select the Statuses, and then refine your view to a specific Status Category.
- Click and hold the three bar icon to drag and drop Statuses within in each Category to your desired order.

*Additional detail on Statuses can be found here.