Person Panel: Overview
Person Panel: Overview
The Person Panel allows you to review all the details of a particular person and allows you to edit the data with ease. The Main Panel Area provides an overview of the candidate's position, education, compensation, location, project details and contact information.
Below is a breakdown of what you will see within the Person's Main-Panel Area.
- Documents
- Positions & Education
- Locations
- Contact Information
- Compensation
- Links
- Location Preferences
- Biography
- Candidate in Projects
- Client on Projects
- Deals
- Task
- Preferences
- Relationships
- Custom Fields
- Activities
- Delete
Documents
Read more on the Document viewer here.
Choosing the Resume type for the document will provide an option to mark the Resume as Preferred or to Parse the Resume. Parsing the Resume will take all of the text inside of the document and place it in the Notes section with a "Resume Text" note type.

Positions & Education
Quickly review a Candidates’ Work History and Education in the Position and Education cards.
To Add a new Position or Education entry on the Candidates’ record click ‘+ Add’ option at the bottom of the Position or Education cards and follow enter the entry data in the Add Form that is displayed.
To Edit Position or Education entries on the Candidates record follow these simple steps:
- Hover over the entry you would like to edit, and you will see a blue highlight over the entry you can edit.

- Clicking on the highlighted entry will open the edit form. Update the entry and press save to commit your changes or cancel to abandon them.
- Clicking Delete will remove the entry from the record.


To commit your changes press save.

Locations
The location card details the address of your candidate. You can add location details by clicking on "+Add ".

Contact Information
The contact card has the Email, Phone, Assistant for the Person's record. These entries are hyperlinked and will activate your default email or phone client on your device.
To Add a new Email or Phone entry on the Candidates’ record click "+ Add" option at the below the Phone or Email records in the Contact card and enter the data in the Add Form that is displayed.
To commit your changes press save.

To Edit Email, Phone, or Assistant entries on the Candidates record follow these simple steps:
- Hover over the entry you would like to edit, you will see a blue highlight over the entry you can edit.
- Click on the highlighted region, outside of the email or phone entry, to open the edit form. Update the entry and press save to commit your changes or cancel to abandon them.
NOTE: Email and Phone numbers in the Contact card are hyperlinked. If you click directly on the email or phone entry you will open the default email or phone client on your device. Be sure to click next to the entry and not directly on the entry in order to open the edit form.
- Clicking Delete will remove the entry from the record.

Assistant
Click "+Add Assistant" to enter in the Name or Email address of the Assistant in the Text Field and click Save.

 Click on the saved entry with the background highlighted blue to edit.

Copy Email
Hover over the desired email to display the copy button. This will allow you to copy the email address with ease.

Compensation
In the person record, you can see the compensation of a person's past job positions.
This card will reflect the person's Desired Compensation.

After the Compensation is saved, it will produce two dates:
Created Date and Last Updated Date

Links
This card will show any website links that are placed into the record. You can add the person's LinkedIn URLs or any websites they are associated with.

Clicking in the empty blue space for the link will allow you to Edit the link information. Clicking on the link itself will navigate you to the site.

Location Preferences
The location preferences displays two toggles ON/OFF to show if the person is willing to Work Remotely or Willing to Relocate.

Biography
The Biography card will detail the Biography that is pulled over by a Third Party or entered by a User.


Candidate in Projects
Users will be able to view and add candidates to a project from the candidate panel.
Once added to a project, the card will display the Ranking for the candidate, assigned Color Category, Date Added, Last Update Date, Status, and Visibility Toggle. If your candidate is a part of multiple projects, you'll need to use the scroller on the right side of the panel to navigate through the list of projects. You can also click on the highlighted arrow to collapse the card.
Projects Sort Order in Panel:
First order: Project Status - Pitch -> Active -> On_Hold -> Closed
Second order: Project Created Date

Clicking on the project card will provide a chance to edit the candidate's project details.
 Rank number inside of the project.
 Toggle to turn on visibility inside of the project.

Color Category

The Recruiter is a dropdown list of all Active Users.


Client on Projects
Users will be able to view and add clients to a project from the person panel.
It shows the last date the Client viewed the project as well.


The Invite as Client shows the same fields as inviting from inside of the project. Details can be found in the support article here.
Click on the project title to be navigated inside of the project.

Deals
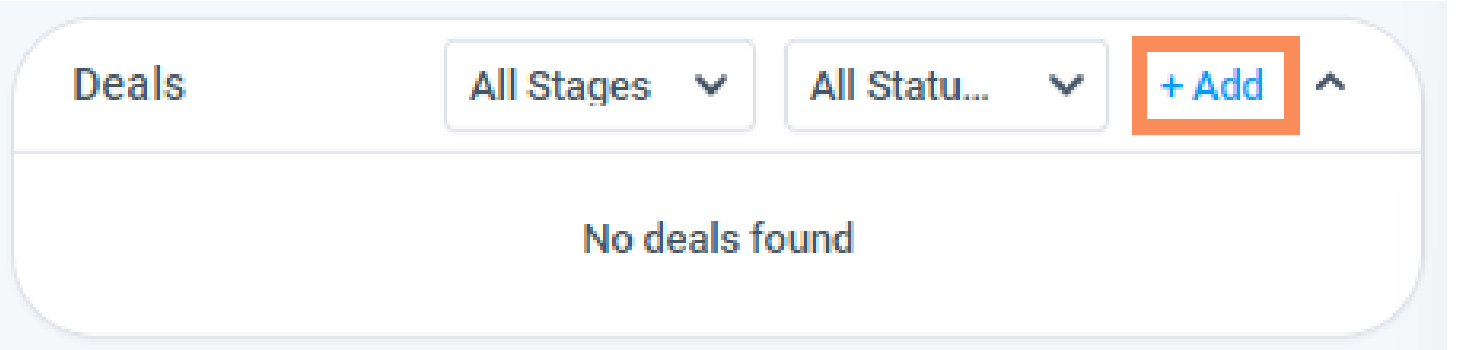

*Note: Deals are displayed in Descending view by start date.
Task
The Task card will allow you to see what Task have been filed under this Person's Record.
Users can also create a new Task to assign to this person.


Task card allows you to Filter by your Task types, in the panel.

Preferences
The Preference card details if the candidate is willing to Relocate or if the candidate is in the middle of a process then you can toggle Do Not Contact.

Relationships
Below are the instructions for "Adding" a relationship to a contact within your Clockwork database. Please know that when adding any type (partnered with, referred by, etc) the person you are adding MUST already be listed within your database (People section).


Once selected and you click "Save", the name will appear within the card. Remember you can always edit or delete any relationship if need be by clicking on the menu button at the end of the card.

Bulk Edit Relationships
Multiple Relationships can be managed at once with the bulk edit feature.


Custom Fields
The Custom Fields card allows you to add single select, multiple select, or text fields to Candidate records. More on the Custom Fields can be found here.

Activities
The Activities card will reflect all changes and updates related to this person's record.

Delete
Users can delete a Person Record at the bottom of the Person Panel. After clicking on "Delete", there will be pop up asking you to enter the word “DELETE” to confirm action. If the Person record is attached to a User is can NOT be deleted.

